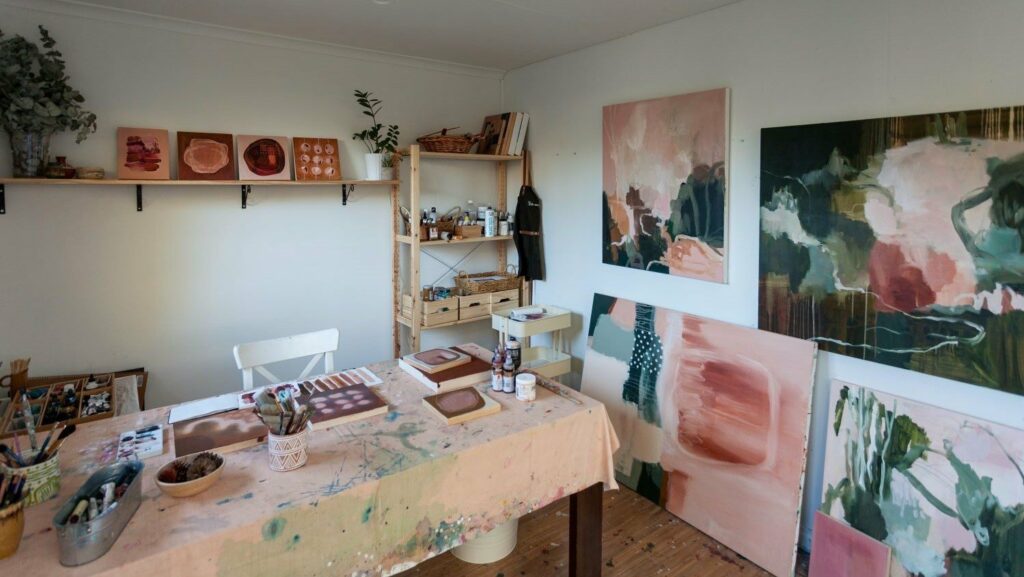
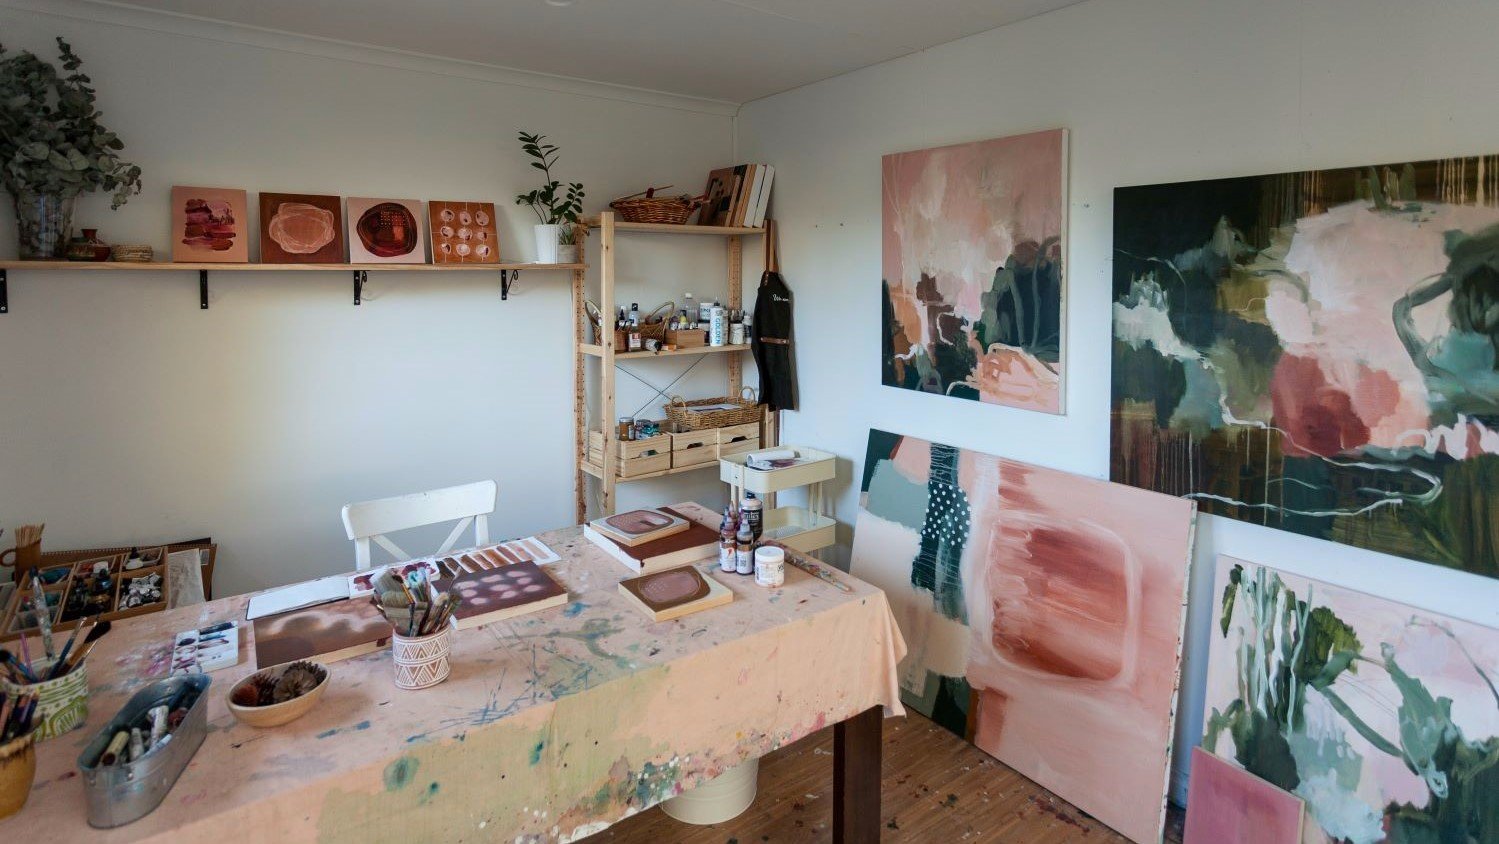
The great thing about having an art studio is that you get to design it the way you want. If your current space doesn’t provide the right conditions for your creative endeavours, or if you just want to implement some organizational tips before you can fully enjoy it, then read on.
Having a dedicated space for your art and craftwork gives you the freedom to decorate as you see fit. The layout, storage solutions and utilities will all be tailored around your needs and interests as a visual artist. It’s also a great opportunity to really get creative with aesthetics and layouts in order to create the ultimate studio environment for your personal artistic growth. These tips offered by professional artist Jacob Farkas will help you plan and establish an organized art studio from scratch so that your time spent working there is fulfilling and productive.

Plan Ahead
One of the best ways to set up your art studio is to plan ahead. Once you’re in your space, you’ll want to make the most of it and not waste time trying to figure out what the best ways are to organize and decorate it. Ideally, you’ll have your space fully planned out before you move in. This can be done by creating a floor plan of your studio and identifying where everything will go. This will help you identify the most ideal locations for your work equipment and other items.
Once you know where everything needs to go, you can then begin to arrange the rest of the space to allow for the best flow and organization. When you’re planning out your studio, Jacob Farkas recommends keeping a few things to keep in mind. Firstly, the space you have. It’s very important that you don’t try to squeeze too much into a small space. Instead, you should aim to maximize the space you have. Another thing to keep in mind when planning out your studio is the lighting conditions. It’s important that you have good lighting in your studio so that you can work efficiently. If your space doesn’t have enough natural light, you’ll want to install some lamps to create a more professional look.
Set Up a Workspace
Once you’ve identified the ideal spots for your equipment, you can begin to set up your workspace. The workspace will be the hub of your studio, so you want to make sure that it’s fully functional and appropriate for the size and layout of your space. Identify the areas of the studio that you want to use for your work, as well as where all of your equipment will go. Once you’ve identified these areas, you can begin to arrange things in order to better utilize the available space.
You’ll want to consider the length of your workstation, as well as the height of the worktop and desk surface. Depending on the work you’re doing, you’ll want the work surface to be at least 36 inches wide. You’ll also want a workbench or worktop that is at least 48 inches deep. You should also have a set of drawers underneath your worktop for storage and organization. If you don’t, you’ll end up constantly rearranging your studio in order to find items, which is time-consuming and frustrating. To further streamline your workflow, you’ll want to create a desk area for your computer. Depending on your computer setup, you can use a wall mounted monitor or a freestanding monitor. You’ll want to place your computer in this area so that it’s accessible while you’re working. You may also want to have a desk lamp or a planter with a plant to add some color and decor to this area. This will help you keep yourself inspired, while also creating a calming environment for you to get work done.
Store Organized
The best way to store items in your studio is to use some sort of storage system. These can take various forms and can be built into the décor of your studio, such as shelves, bins, drawers, or custom made storage solutions. As Jacob Farkas explains, the best option will depend on your budget, the space you have, and your needs as an artist. When it comes to storing items, you’ll want to make sure that they’re organized and easy to find. This is especially important if you’re the kind of person who likes to keep things neat and organized.
If you’re the type of person who likes to throw things in the back of a closet or under the bed because you don’t have a designated storage area for certain items, you’ll want to make sure that you organize your studio. If your studio doesn’t have a large amount of storage space, you’ll want to make use of what you have. It’s important that you make your space as efficient as possible, so that you don’t have to spend a lot of time looking for things when you need them. One of the best ways to make use of the space you have is to store items vertically. This is especially important if you’re the kind of person who likes to classify and classify items. This can be done using bins or baskets. You can also use hooks and pegs to hang items on the wall. This will allow you to store items vertically, while also keeping them organized visually.
Color Coordinate
When it comes to decorating your studio, you want to make sure that you’re using colors that are complimentary to each other. This will help to create a more aesthetically pleasing space, while also making things easier to find when you need them. When you’re starting to decorate your studio, you want to make sure that you’re using colors that are complimentary to each other. This will help create a more aesthetically pleasing space, while also making things easier to find when you need them.
Think about the colors that you love most, as well as the colors that are present in your space. You may also want to take inspiration from popular art, design, and architecture trends in order to get a better idea of what colors you should use in your studio. You can also use color-coding in order to make things easier to find, ads New York-based painter, Jacob Farkas. This can be done by using different colored Post-It notes to make things easier to classify visually. Some other ways you can use color coordination in your studio is by using accent wallpapers or wall murals. This will help to visually tie your space together. You can also use different types of lighting to create different lighting conditions in your studio.
Complement with Accessories
When it comes to decorating your art studio, you want to make sure that you complement your room with other decorative items. This will help to further decorate your space and make it look more aesthetically pleasing. One of the best ways to complement your room is to use artwork. You may also want to consider using art as décor. You can use framed artworks, or you can hang up paintings or prints on the wall. You can also consider using art as lighting fixtures, such as lamps or floor lamps. You can also consider using art as a serve as a decorative vase, or you can use art as a paperweight. You can also consider using art as a stool, a tablecloth, or a plant stand. This will help to visually tie your space together, while also making it more aesthetically pleasing.
Final Words
When you’re starting out in the art world, you’ll want to find a way to make the most out of your time. Having a fully functional and organized studio can help you do so, while also providing you with a great environment in which to work. From planning and layout to storage and decorating, these tips will help you set up your studio the right way.
